Keeping your WordPress site up to date is crucial for security, performance, and access to new features. One of the key aspects of maintaining a healthy website is ensuring that you update WordPress core files regularly. The WordPress core is the backbone of your website, and its updates contain essential security patches, bug fixes, and even new functionality. Failing to update these files can leave your site vulnerable to attacks and outdated in terms of performance and features.
In this article, we’ll guide you on how to update WordPress core files to the latest version. We will cover the importance of these updates, the steps you need to follow, and what to do in case something goes wrong during the process.
Why You Should Update WordPress Core
1. Security Enhancements
The most important reason to update WordPress core files is security. WordPress developers continuously patch security vulnerabilities to protect websites from potential threats. If you do not update your WordPress core files, your site could become an easy target for hackers and malicious software.
2. Performance Improvements
New versions of WordPress often come with performance improvements. These updates include optimizations that make your website run faster and more efficiently, especially when dealing with high traffic volumes. This can enhance the user experience and ultimately improve your site’s SEO ranking.
3. New Features and Functionality
Another reason to update WordPress core files is to access the latest features. As WordPress evolves, new functionalities and tools are added to improve website management, content creation, and user interaction. By staying up to date, you can take advantage of these new tools without any hassle.
Preparation Before Updating WordPress
Before you proceed with updating WordPress, it’s important to take a few preparatory steps to avoid any unexpected issues.
1. Backing Up Your WordPress Site
The first thing you should do before updating your core files is to back up your entire WordPress site. This includes all your files, media, and the database. By doing so, you ensure that you can restore your site in case something goes wrong during the update process.
There are several plugins available to help you back up your WordPress site, such as UpdraftPlus and BackupBuddy. Alternatively, you can manually back up your files via FTP and export your database from phpMyAdmin.
2. Checking Compatibility with Themes and Plugins
Before updating, check if your installed themes and plugins are compatible with the new WordPress version. Developers typically update their themes and plugins to support the latest WordPress releases, but it’s always best to verify this before updating. You can do this by reviewing the changelog and the WordPress plugin repository for compatibility information.
3. Reviewing the Changelog for the Update
WordPress provides detailed changelogs for each new release. These changelogs highlight the improvements, bug fixes, and potential issues in the update. It’s important to review the changelog to understand what changes the new version brings and how they may affect your website.
Methods to Update WordPress Core Files
There are multiple ways to update WordPress core files. Below, we’ll explore the different methods you can use, including manual and automatic updates.
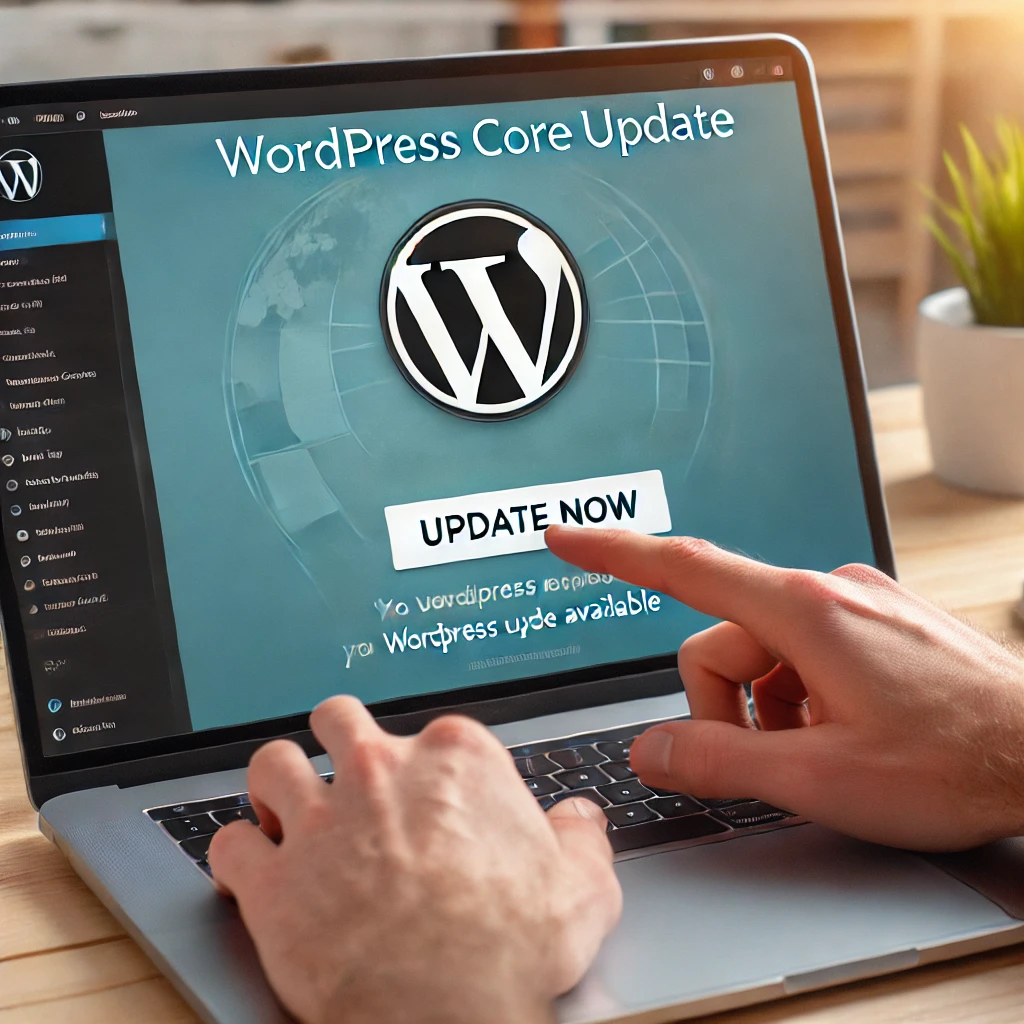
1. Manual Update via Dashboard
The simplest way to update WordPress core files is through the WordPress Dashboard. If a new version is available, WordPress will notify you on the Dashboard.
Steps to Update:
- Log in to your WordPress Dashboard.
- On the left-hand sidebar, go to Dashboard > Updates.
- If an update is available, you’ll see a message saying, “An updated version of WordPress is available.”
- Click the Update Now button.
- WordPress will automatically download and install the latest version of the core files.
Once the update is complete, you’ll see a success message. Your WordPress core files are now up to date.
2. Automatic Updates
WordPress comes with a built-in feature that automatically updates your site to the latest version. This feature is enabled by default, but if you’ve turned it off, you can re-enable it by adding the following line of code to your wp-config.php file:
phpCopyEditdefine( 'WP_AUTO_UPDATE_CORE', true );
This setting ensures that minor updates are applied automatically without manual intervention. Major updates, however, may require you to confirm or perform the update yourself.
3. Updating via FTP
In some cases, you may prefer to manually upload the WordPress core files using FTP. This method is useful if you are unable to update via the dashboard due to issues with your website or server.
Steps to Update:
- Download the latest version of WordPress from the official WordPress website.
- Extract the downloaded files on your local computer.
- Using an FTP client like FileZilla, connect to your website’s server.
- Replace the existing WordPress core files with the new ones. Be careful not to overwrite the wp-content folder or wp-config.php file, as they contain important information about your website.
Once the files have been uploaded, visit your site’s Dashboard, and WordPress will prompt you to update the database if necessary.
Troubleshooting Common Issues
Even though updating your WordPress core files is a relatively straightforward process, sometimes issues may arise. Below are some common problems and how to fix them.
1. Fixing the “Update Failed” Error
One of the most common errors encountered during the update process is the “Update Failed” message. This typically occurs due to permission issues or problems with the file system.
How to Fix:
- Ensure that your wp-content and wp-includes folders have the correct file permissions.
- If using FTP, check that the file transfer was successful.
- Try updating your site again.
2. Resolving Plugin and Theme Conflicts
Plugins and themes may cause conflicts with the WordPress core update, which can result in a broken website or issues with site functionality.
How to Fix:
- Disable all plugins before starting the update process.
- After the update, reactivate the plugins one by one to identify which plugin is causing the conflict.
- Ensure that your themes are compatible with the latest WordPress version. If necessary, update your themes to the latest version.
3. Dealing with a Broken Site
In rare cases, a WordPress site may break after an update. This could be due to a theme or plugin issue, or a corruption in the database.
How to Fix:
- Use your backup to restore your site to its previous state.
- Check your site’s error logs to identify the cause of the issue.
- Reach out to your hosting provider for assistance if the problem persists.
Post-Update Checklist
Once you have successfully updated your WordPress core files, it’s essential to verify that everything is working correctly.
1. Testing the Website’s Functionality
After the update, test your website thoroughly to ensure everything is working as expected. Check the front end and back end for any issues. Ensure that all links, images, and forms are functioning correctly.
2. Ensuring Plugins and Themes Are Up to Date
Check if your themes and plugins are compatible with the latest version of WordPress. If updates are available, make sure to install them.
3. Clearing the Cache for Faster Performance
After an update, it’s a good idea to clear your website’s cache. This helps ensure that visitors see the latest content and improves site performance.
Conclusion
Updating your WordPress core files is an essential task that should not be overlooked. It ensures that your website remains secure, performs optimally, and benefits from new features and bug fixes. Whether you update through the dashboard, automatically, or manually via FTP, make sure to follow the necessary steps and back up your site before proceeding.
By keeping your WordPress core files up to date, you can avoid potential security threats and ensure that your website runs smoothly for years to come. Remember, regular updates are key to maintaining a healthy, secure WordPress site.